
How to review utility timing in a CS2 demo
Check what the grenade was meant to do and whether the team was ready to use it.
Quick answer
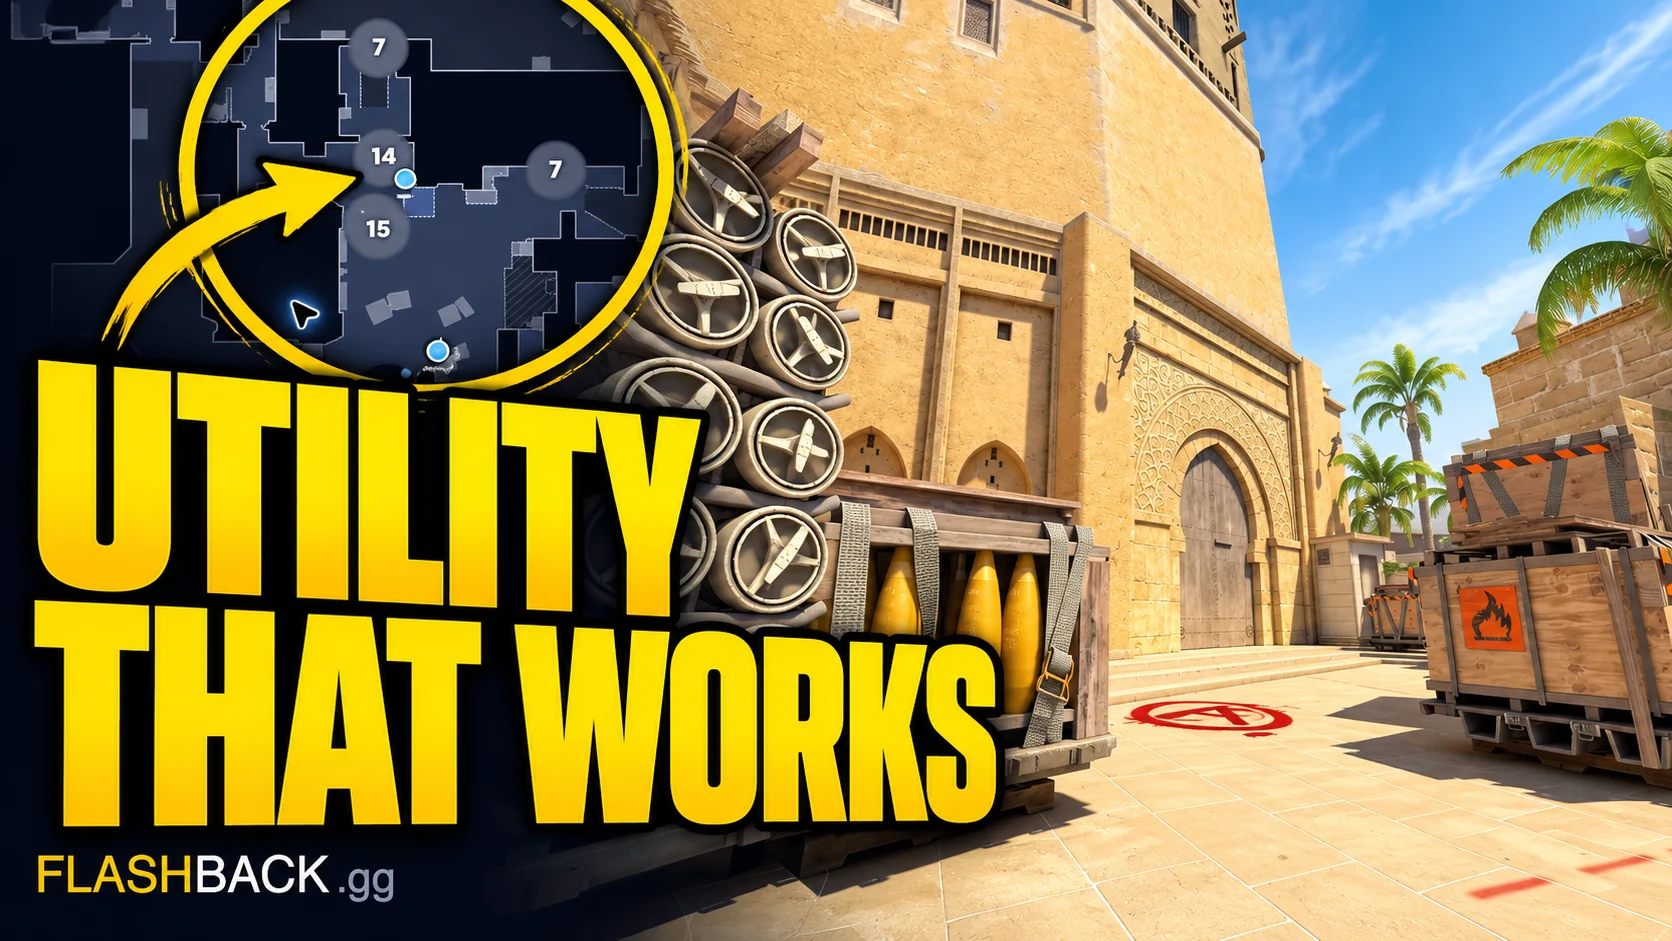
Name the grenade's job, then compare when it takes effect with the supported player's movement and contact. A correct landing spot can still be mistimed. Use the radar to inspect the setup and choose one communication or timing change to practise.
Jump to a section
Before you start
- Start before the utility is thrown.
- Follow the supported player as well as the thrower.
- A correct landing position is only one part of a useful grenade.
Name the job of the grenade
Choose one flash, smoke or molotov around an important contact. State what it was supposed to achieve: help an entry take a fight, block an angle, delay a push or clear a position. A grenade can land at the planned spot yet fail to help the player it was meant to support.
Play the sequence from before the throw. Watch the thrower's route and the supported player's movement. Then follow the opponents' response where the replay makes it visible. Keep the review focused on whether this use of utility created the intended opportunity.
Compare effect and contact
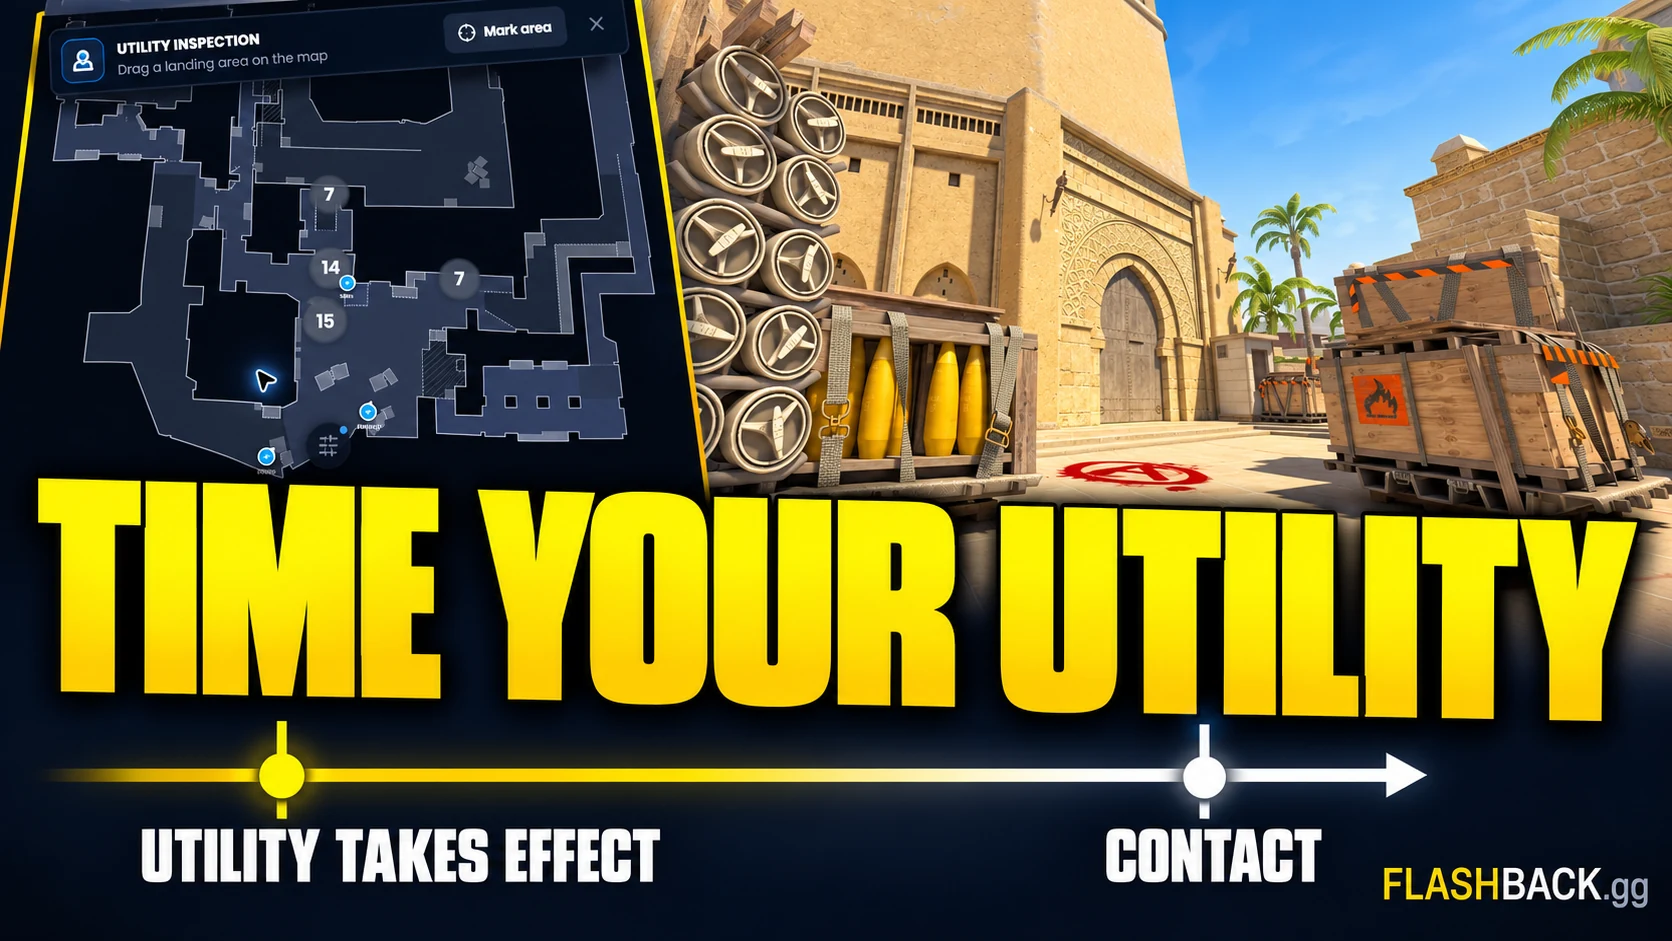
For an entry flash, check when the supported player reaches the fight relative to the grenade. A late entry may waste the useful window; an early entry can expose the player before support arrives. Use the timeline to compare the sequence rather than judging the throw from its final landing point.
For a smoke, look at the route it is supposed to protect and whether the team is ready to move while that route is covered. For a molotov, check whether someone can take advantage of the position it pressures. Avoid assuming that every visible effect produced the same experience for every player.
Find the throw
Rewind far enough to see the setup and the thrower's responsibility.
Find the supported action
Identify when the entry, cross or defensive move actually begins.
Compare the sequence
Check whether the utility helps that action, arrives too late or is used before anyone is ready.
Use a pro example with its context
The utility library can help you find a throw to study. Match the map and intended position, then examine the surrounding team setup. A lineup demonstrates a throw; it does not automatically supply the timing, communication or support needed for your round.
If your team cannot reproduce the full setup, keep the lesson small. A simpler flash that arrives with the entry can be more useful than a precise sequence nobody has practised together. Test the throw in a practice environment before relying on it during a match.
Turn the review into one clear call
Write the change as a trigger the players can recognise. For example, let the entry call when they are ready, then have the support player throw. A shared trigger is easier to repeat than telling both players to be faster without specifying who moves first.
After the next match, review the same kind of situation. Check whether the trigger happened and whether the player reached contact with support. Save a radar image or short animation if it helps explain the setup to the team, and keep the round number for comparison.
Common questions
Is a correct lineup enough for a good execute?
No. The team also needs the timing, positions and communication that let players use the space or support the utility creates.
Can I inspect utility from a whole-round view?
The 2D viewer shows utility alongside player movement. Use a POV when you need the selected player's in-game perspective as well.
Put the guide to work
One utility timing adjustment to practise. Open the tool when you are ready, or follow a related guide below.