
How to review trades and teammate spacing in a CS2 demo
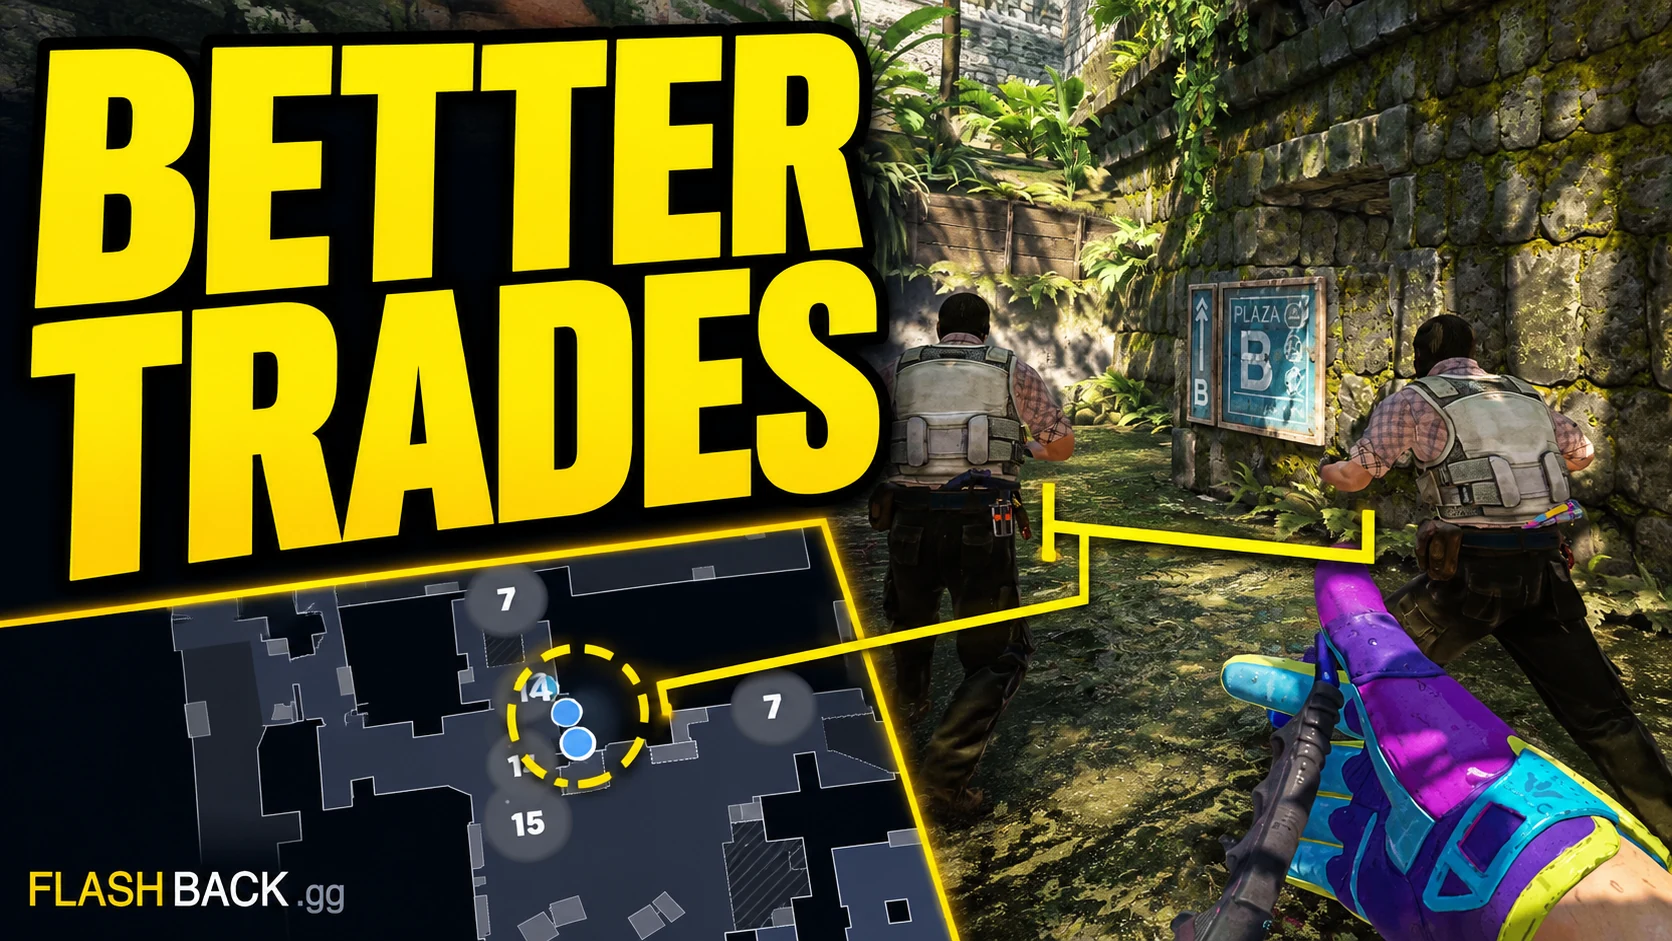
Use the radar to check whether a teammate could actually trade the first contact.
Quick answer
Rewind before first contact and follow both the entry and support player. Check whether the second player had a usable angle, timely access and a shared plan for the fight. A nearby marker does not guarantee a trade; review the approach and response as a sequence.
Jump to a section
Before you start
- Pick one entry or first-contact situation.
- Rewind before the first player commits.
- Distance alone does not tell you whether a trade was possible.
Review the pair, not only the player who died
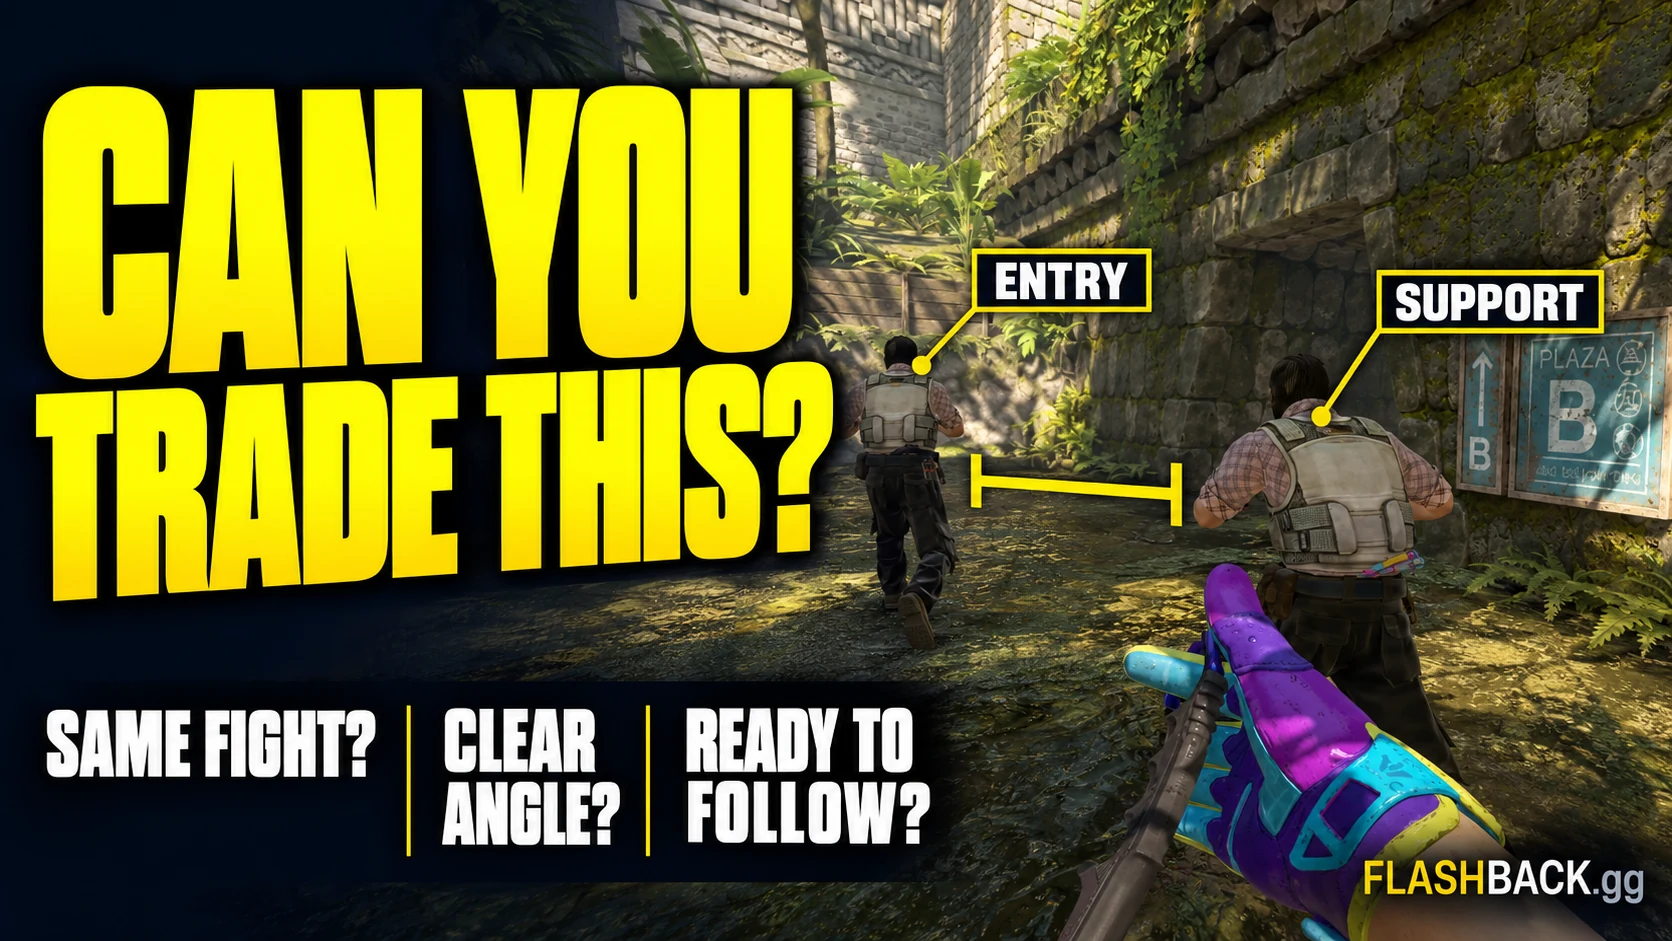
Choose a round where the first player lost a duel and the second player arrived too late or fought separately. Start before the first player commits. Follow both players so you can see whether the separation happened during the approach, while clearing angles or after contact.
A nearby marker does not automatically mean a teammate can trade. A wall, a smoke, an uncleared angle or the direction they are facing can prevent immediate support. Use the radar for the timing and wider setup, then use the player's perspective when you need to understand the actual view.
Check the moment before contact
Pause just before the entry becomes exposed. Compare the intended route with where the support player is moving. Look for a reason the pair cannot fight the same opponent in sequence. Avoid assigning blame from a single paused frame: play the approach and the response as well.
Check the angle
Could the second player see or quickly reach the same fight without exposing themselves to another unchecked threat?
Check the timing
Did support arrive with the entry, or was it still throwing utility or moving from another position?
Check the response
After the first contact, did the second player continue, stop or switch to a different objective?
Check the plan
Was there a communicated entry-and-trade plan, or did two players independently choose different jobs?
Keep the useful spacing for this situation
There is no single radar distance that guarantees a good trade. A tight choke, an open site and a smoke exit create different risks. Being too close can expose both players to the same spray or utility; being too far away can leave two isolated duels.
Describe the problem in terms of the fight rather than inventing a universal distance rule. 'The support player was still behind the wall when contact happened' is actionable. 'Always stand closer' can make the next setup worse if it ignores the angle and utility.
Test one change in another round
Choose a correction the pair can execute: delay the entry until the flash is ready, clear the support angle first or state who follows through the choke. Review another similar round to see whether the same issue occurs. A repeated pattern deserves practice more than a single messy duel.
If you discuss it with teammates, share a short radar sequence and name the decision point. Keep the conversation on what each player needed to do and what information they had. Save a POV clip only when the first-person view adds something the radar cannot explain.
Common questions
Does a close teammate always have a trade?
No. Sightlines, obstacles, utility, timing and the angle they are clearing all affect whether a trade is available.
Should every death be traded immediately?
No. Review the round objective and available information. Continuing an unfavourable fight can be worse than changing the plan.
Put the guide to work
A specific spacing or support change to test. Open the tool when you are ready, or follow a related guide below.