
How to choose CS2 video export settings in Studio
Understand 16:9, 9:16, resolution and frame rate before you create the video.
Quick answer
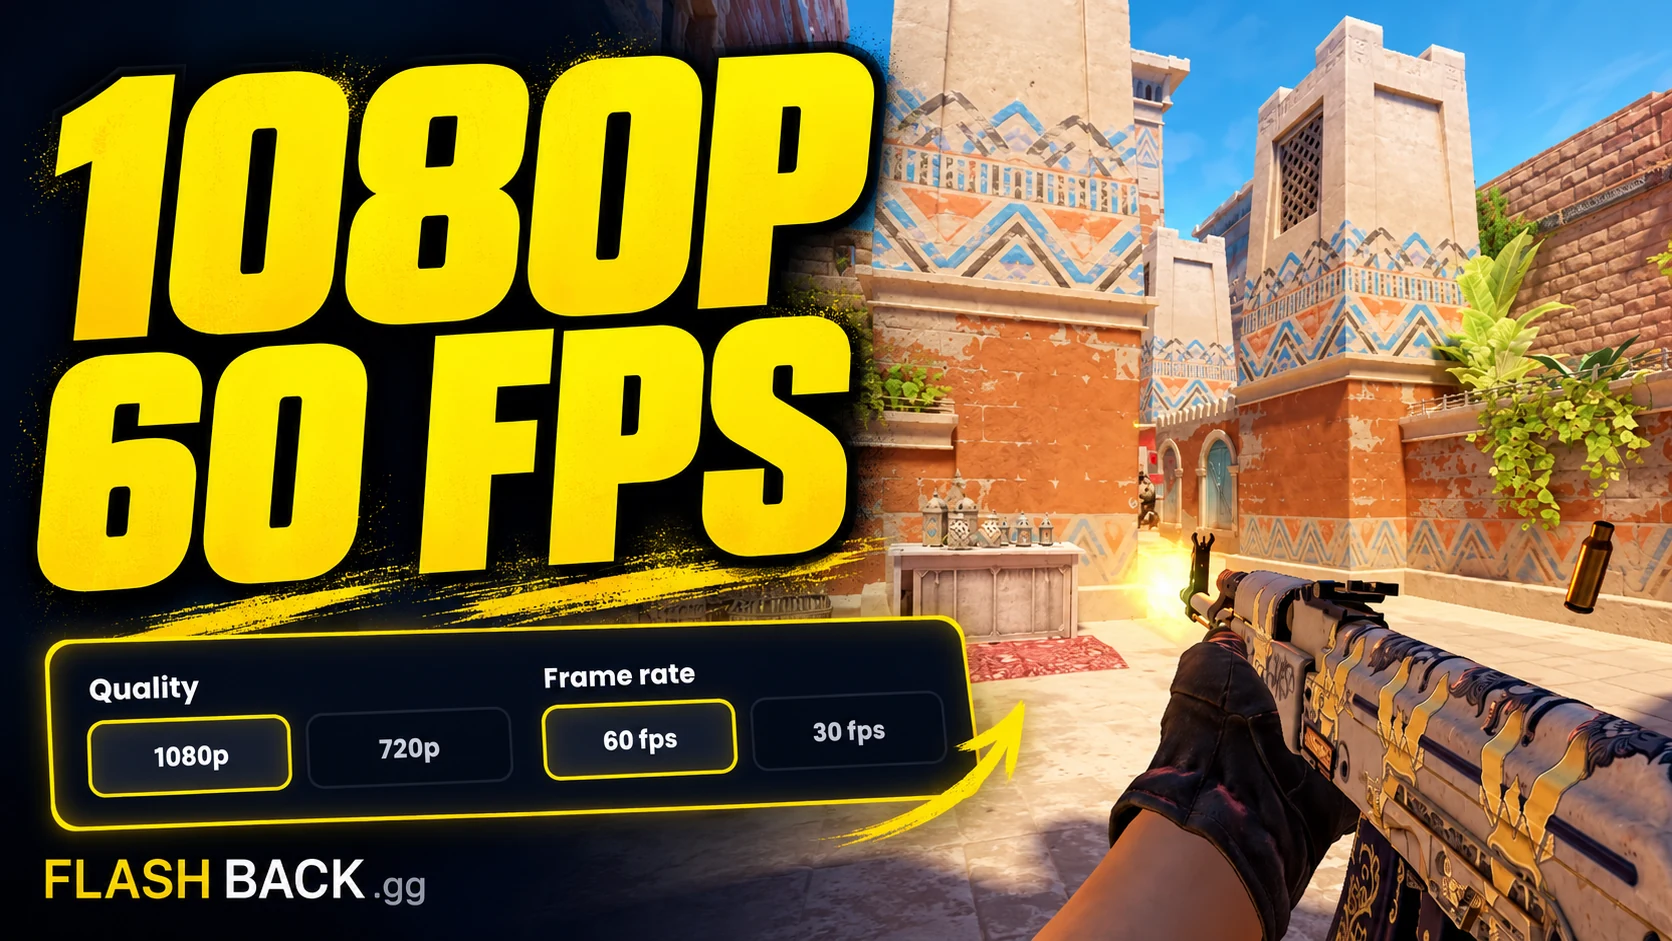
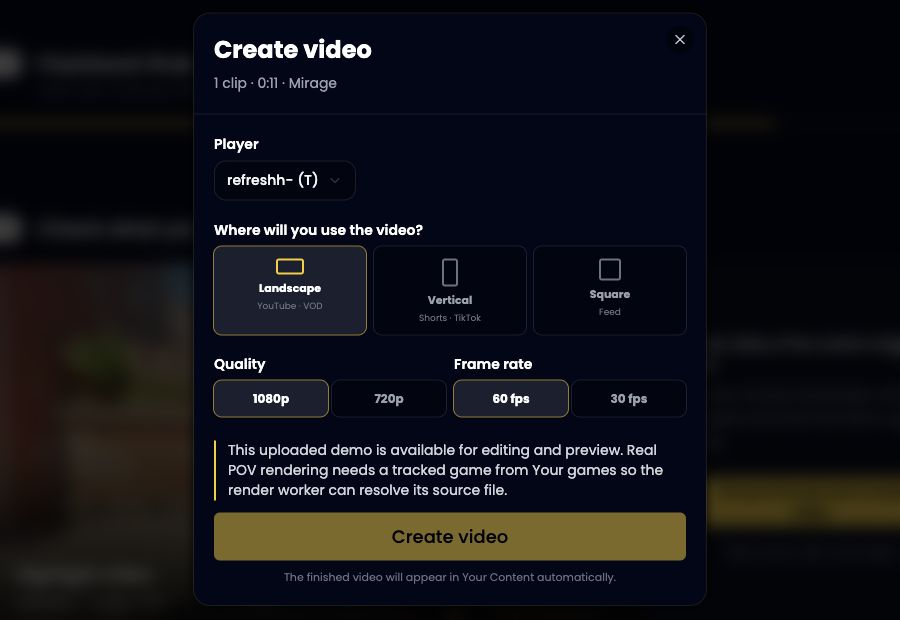
Choose the aspect ratio first: 16:9 landscape, 9:16 vertical or 1:1 square. The current dialog offers 1080 and 720 for landscape, 1080 for vertical and square, and 60 or 30 fps. Confirm the selected POV player and your allowance before submitting a render.
Jump to a section
Before you start
- POV rendering currently needs an analysed, tracked Steam or FACEIT game from Your games. A standalone upload is not a render source.
- Finish checking your cut and selected player first.
- Studio offers 16:9, 9:16 and 1:1 formats.
- Use the settings actually offered in the export dialog; plan allowances and editor options are separate checks.
Choose the frame for the destination
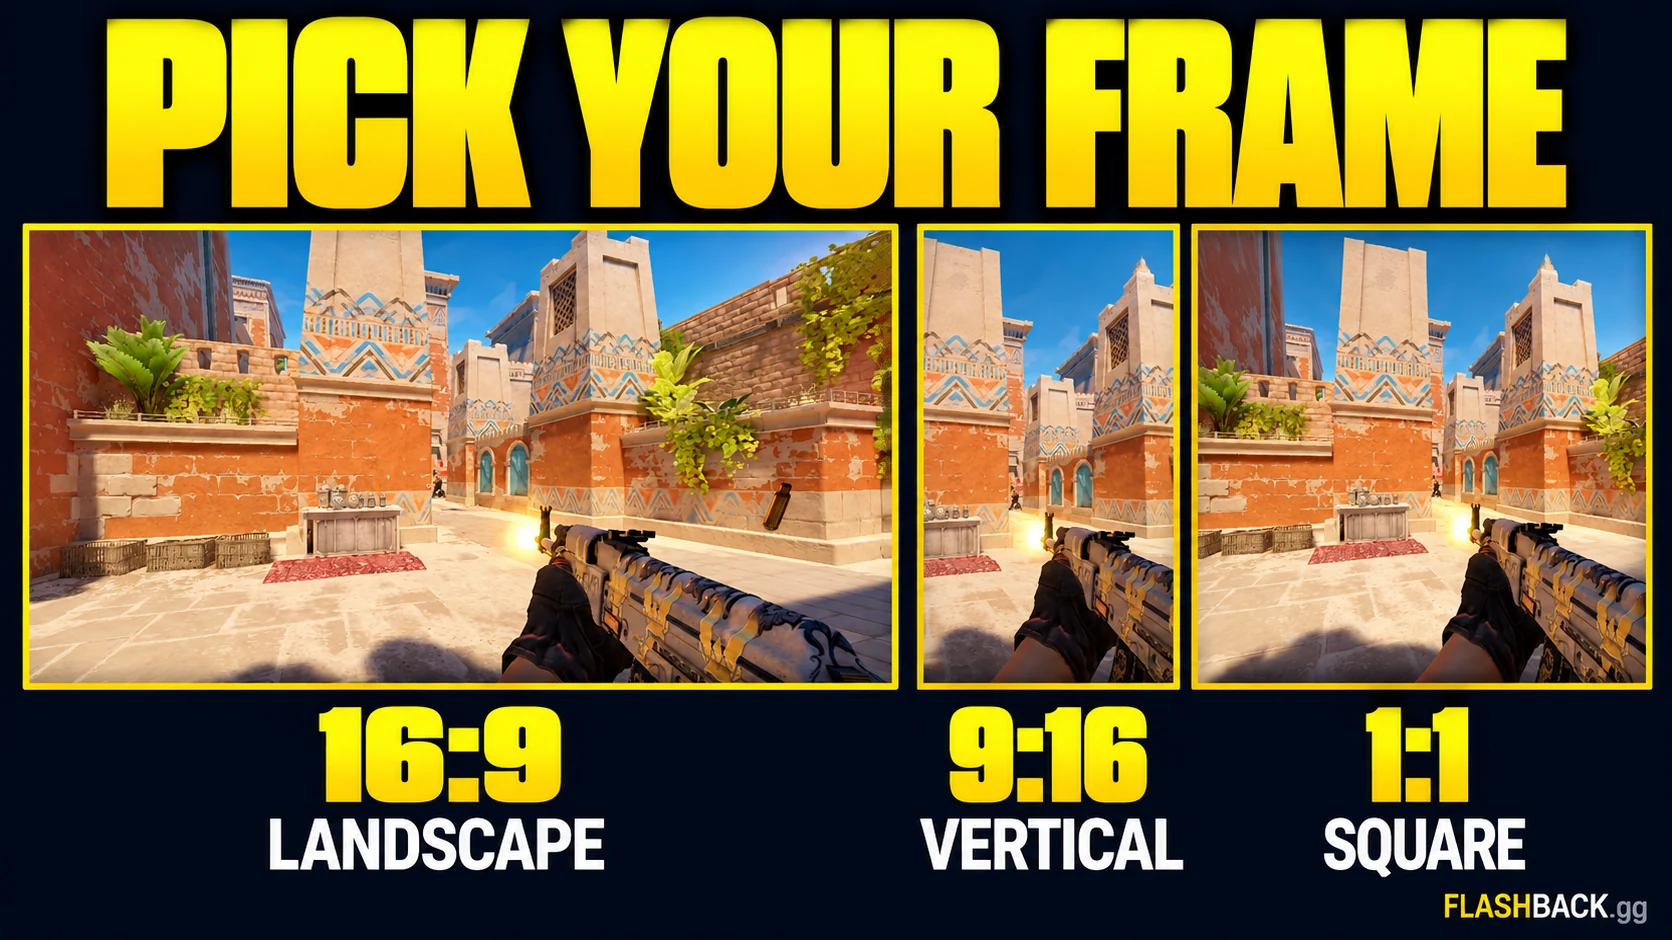
Landscape 16:9 preserves horizontal space for a normal gameplay video. Vertical 9:16 is a useful starting point for a phone-oriented short. Square 1:1 is another available format when it suits the destination. Choose the shape for the actual use rather than creating several versions without a reason.
A narrow frame can change how readable a CS2 play is. Check whether the opponent, crosshair and relevant information remain visible in the finished video. Do not assume that selecting vertical automatically makes every wide fight suitable for a short.
Read resolution and frame rate separately
Resolution describes the dimensions of the exported frame. Frame rate describes how many frames are shown each second. A higher resolution does not fix a poorly selected segment, and more frames do not fix an unreadable crop. Start with the content and shape, then choose the available output settings.
The current Studio export dialog offers 1080 and 720 for landscape, with 1080 formats for vertical and square. It offers 60 and 30 fps. Check the dialog before submitting rather than assuming every format has the same controls. Use Plans to check the allowance attached to your account.
- Choose the aspect ratio before checking resolution options.
- Confirm the selected POV player as well as the video settings.
- Check the frame rate shown in the export dialog.
- Keep a local copy of the finished file you want to retain.
Spend the render on a checked cut
Play the selection across every cut in the 2D preview. Confirm the match, player, important action and ending. This catches selection mistakes before the first-person render. It does not replace checking the final image and sound once the video exists.
If the export is queued, follow its status and open Your Content when it is ready. Repeated submissions can create unnecessary jobs or consume additional allowance. If a job reports an error, keep the visible message and use the Support route instead of submitting the same unchanged cut repeatedly.
Review the file at its actual viewing size
Watch a landscape clip in a normal video player and a vertical clip at a phone-like size. Check the opening, each edit, audio and final action. Look for anything the final framing hides. A technically valid file can still need a different cut to communicate the play clearly.
Download the completed version from Your Content and play the downloaded copy too. If you later upload it to a social platform, check the posted result there: the destination may process the file again. Keep the original download so that a future edit does not depend on recovering a compressed social copy.
Common questions
Does choosing 1080p change the clip's shape?
No. Resolution and aspect ratio are separate choices. Check whether you selected landscape, vertical or square as well as the quality.
Can I confirm the final crop in the radar preview?
The radar preview verifies actions and timing. Watch the completed POV video to judge its in-game framing and audio.
Put the guide to work
An export choice suited to the clip's destination. Open the tool when you are ready, or follow a related guide below.