
How to turn a CS2 demo into a POV video
Go from a match demo to a shareable first-person clip, with a clear check before you spend a video export.
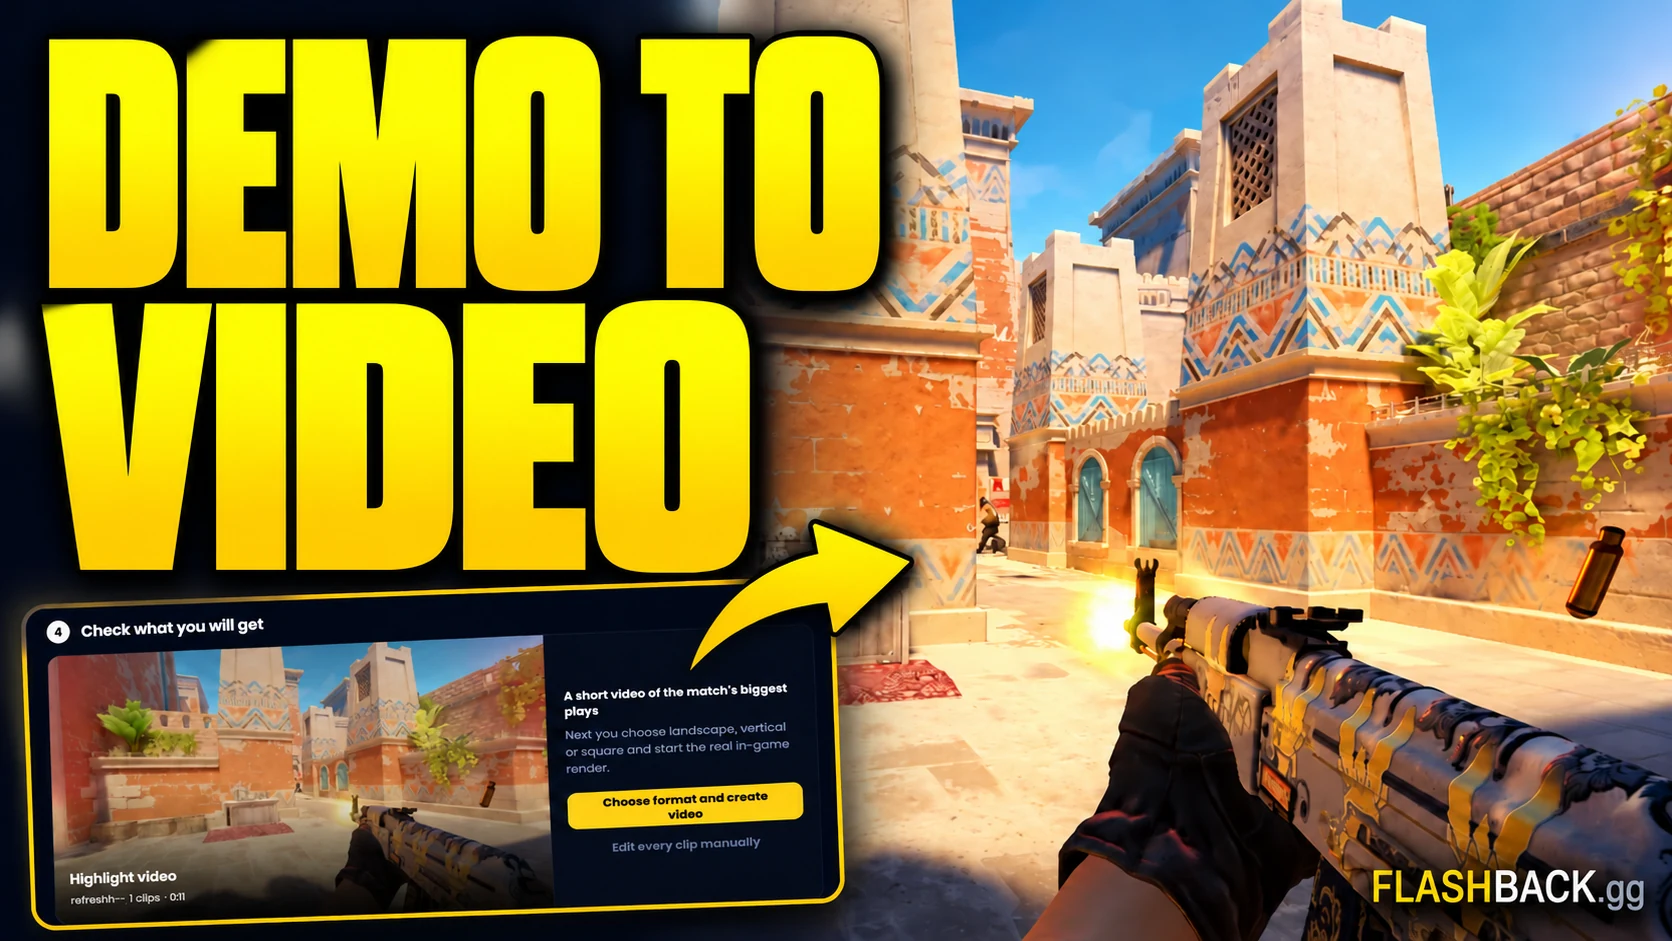
Quick answer
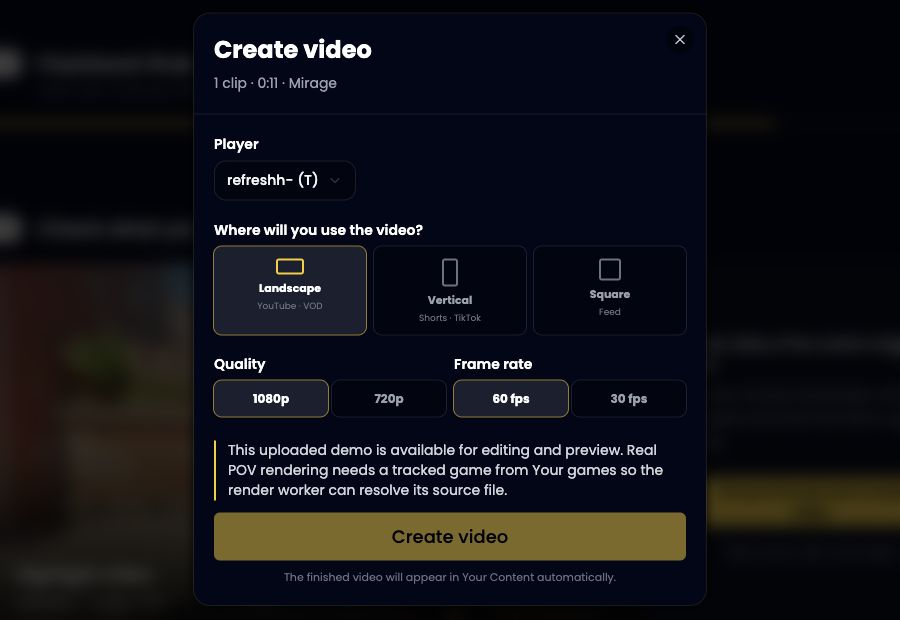
Open an analysed, tracked Steam or FACEIT match from Your games in Studio. Choose the player and recipe, then check the cut details. Standalone uploads support analysis and editing but are not a render source in the current Studio export flow. Select an output format and submit the POV render on a supported paid plan. The finished gameplay video appears in Your Content; renaming a .dem to .mp4 does not convert it.
Jump to a section
Before you start
- POV rendering currently needs an analysed, tracked Steam or FACEIT game from Your games. A standalone upload is not a render source.
- You need an available, analysed demo of the match.
- The guided builder is free; manual Pro editing and video rendering require Plus or Pro.
- A .dem stores match data. Changing its extension to .mp4 does not turn it into a video.
Understand what is being converted
A CS2 demo contains the match data needed to replay the game. It is not a normal video file you can upload to a social platform. To produce first-person footage, that match must be played back and rendered from a player's perspective.
Flashback uses analysis for the 2D preview and renders the finished POV on its servers. You do not need to run CS2, HLAE or OBS on your own machine for this workflow. A radar export from the viewer is useful for review, but is a different output from a rendered gameplay video.
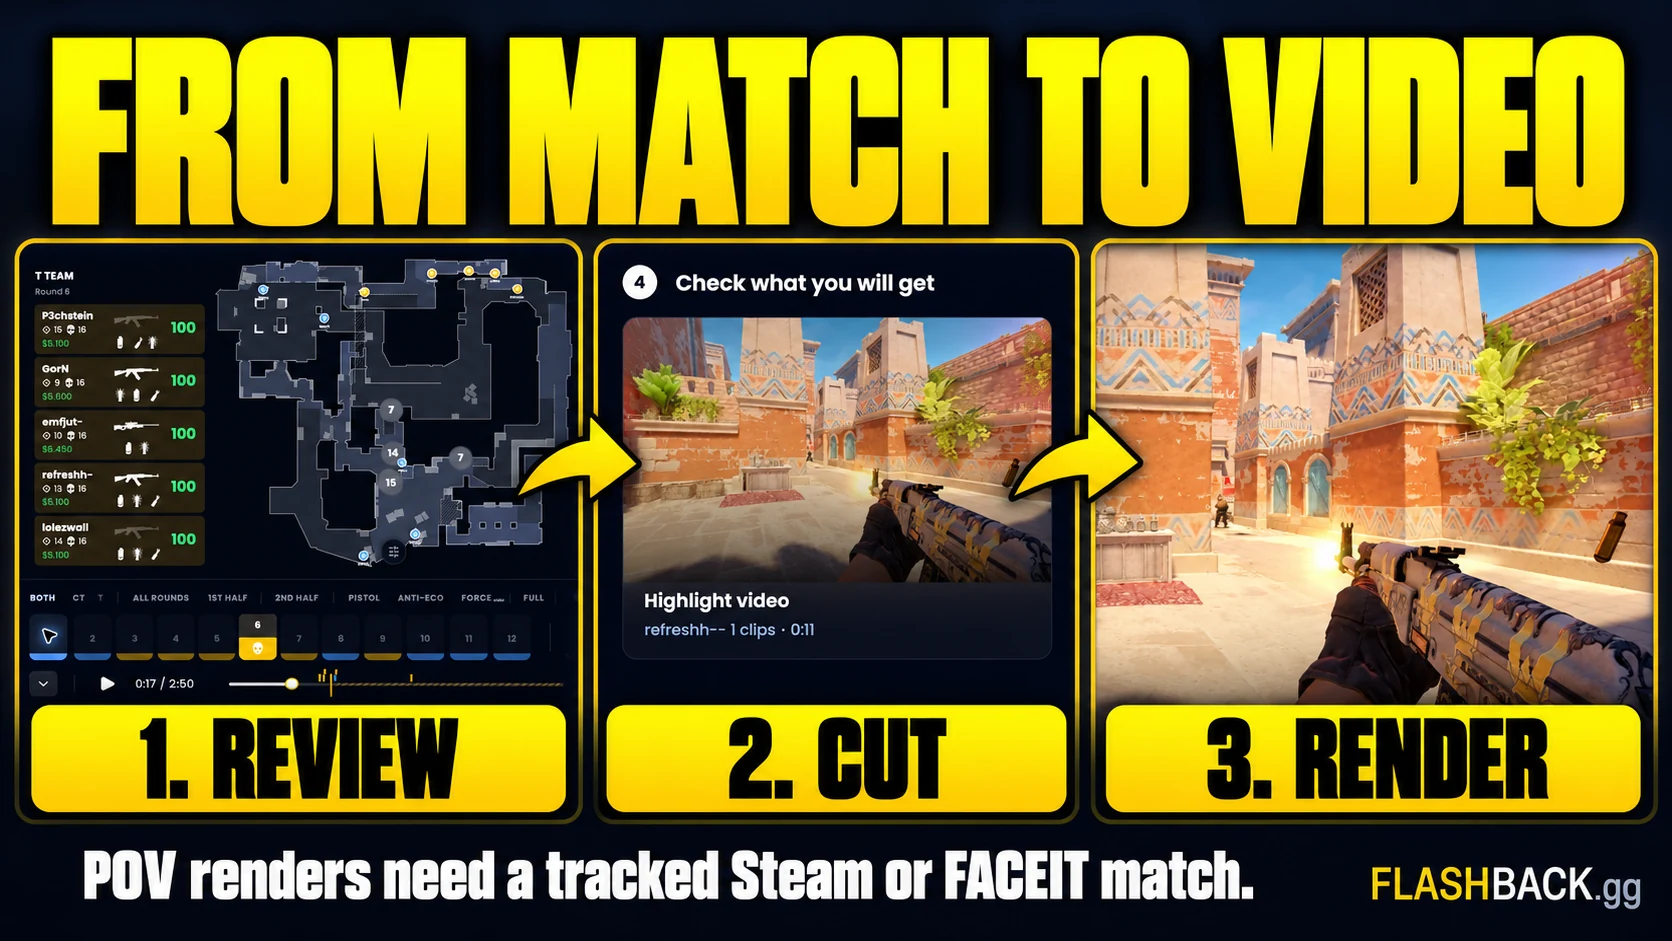
Start with a match that can be analysed
Connect your Steam or FACEIT account and choose an analysed, tracked match from Your games in Studio. The current export flow needs that match source to render. A standalone uploaded demo can be analysed and edited, but the export dialog does not currently accept it as a real POV render source.
Wait until the source is analysed. A match appearing in history does not prove that its demo is available. If a download request, processing state or error is shown, resolve that before choosing a cut. You cannot render missing gameplay from the scoreboard alone.
Choose the player and the kind of video
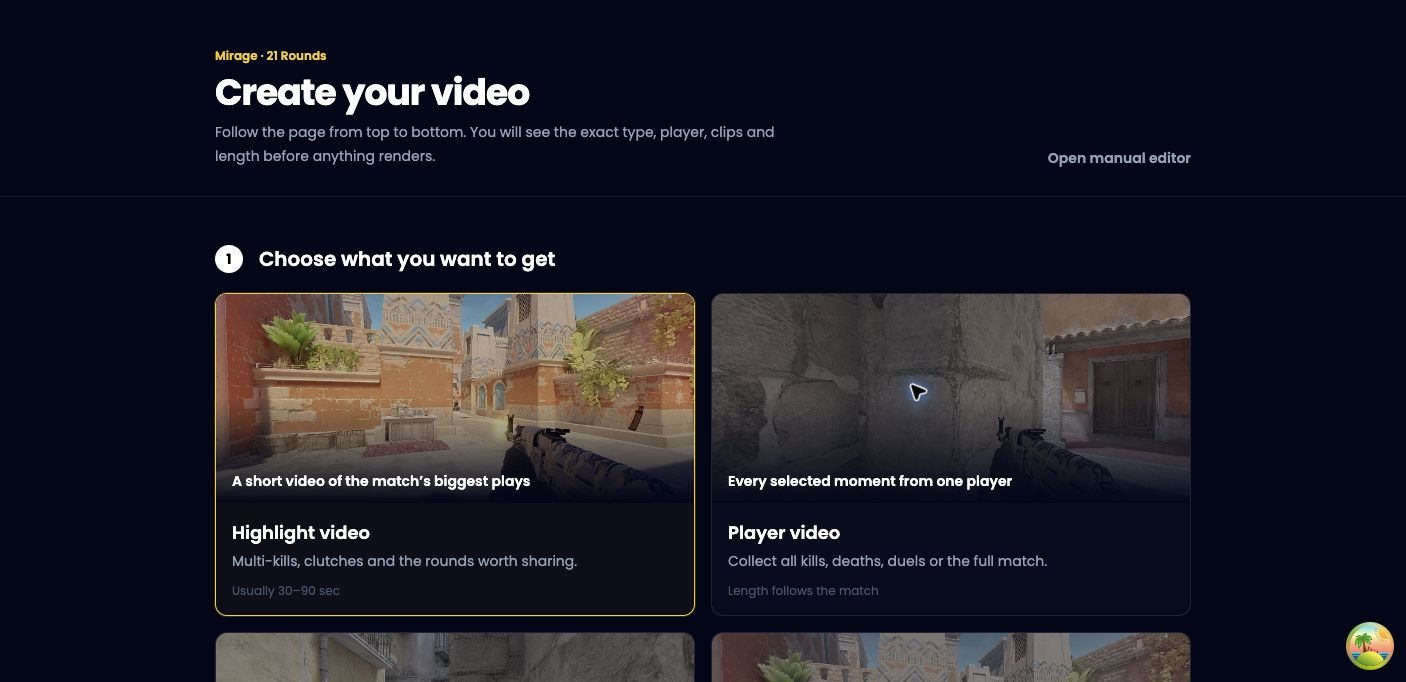
Select the match in Studio and choose the player whose perspective you want. The guided editor offers different starting points. Highlights picks notable moments; the player library can collect kills, deaths, duels or the full match. YouTube footage targets a chosen duration, while Short video builds a music-based edit.
Choose the recipe for the result you need. A single clutch benefits from its setup and ending. A collection of opening kills usually needs shorter segments. Start with one clear idea rather than trying to include every good moment.
Check the player
Confirm the selected player before generating a cut. The same round can look completely different from another player's POV.
Build and review the cut
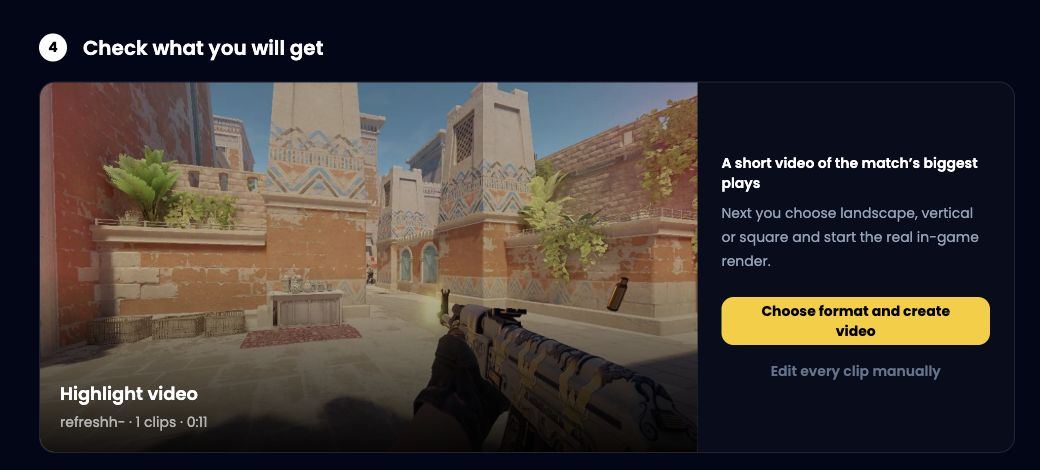
Check the chosen recipe, player, clip count and length in the summary. Use the 2D preview where the flow provides one; manual segment inspection uses the Pro editor.
Adjust the timing
For finer control, use the desktop Pro editor (Plus or Pro) to adjust clip boundaries and sequence. Keep a short lead-in before contact and enough time after the final action to show the outcome.
Check the cut before creating the video
Rendering produces a new video from the selected footage; the 2D preview is not a preview of every visual detail of that finished render. Check the timing and source carefully first, then choose the output shape and quality available to your plan.
- The right match, player and rounds are selected.
- The clip includes the setup, action and outcome you want to show.
- Your chosen aspect ratio fits where you will post it.
- Any music is appropriate for the destination and you have the necessary rights.
- Your plan includes a video export and the requested quality.
Render, then download from Your Content
Use Create video to submit the cut. A queued job is not a finished video: rendering depends on the queue, source compatibility and worker availability. Follow its status in Your Content. If it fails, inspect the error before resubmitting the same cut.
When the render is ready, watch it once with sound and use the available download or sharing controls. Save a local copy if you need to keep it beyond your plan's storage period. Always use the finished video for posting; uploading the original .dem will not give viewers a playable clip.
Common questions
Can I convert a CS2 .dem to MP4 by renaming it?
No. A demo contains match data, not encoded video. The gameplay must be replayed and rendered to create a shareable video file.
Is CS2 demo-to-video rendering free?
The guided builder is free. Manual Pro editing and video rendering require Plus or Pro. Plus currently includes 10 video exports per month; the plans page lists current limits and quality options.
Will the rendered video look like the 2D preview?
The preview shows the selected match moments on a radar. The completed render shows real first-person gameplay from the selected player.
Put the guide to work
A rendered POV in Your Content. Open the tool when you are ready, or follow a related guide below.