
How to trim and edit a CS2 clip from a match demo
Choose the player, tighten your segments and check the cut before rendering.
Quick answer
Select a match and POV player, build a guided cut, then review its lead-in, action and ending. Manual segment trimming and arrangement use the desktop Pro editor, which requires Plus or Pro. Check the radar preview before rendering, then inspect the completed POV video for framing and audio.
Jump to a section
Before you start
- POV rendering currently needs an analysed, tracked Steam or FACEIT game from Your games. A standalone upload is not a render source.
- Use an available analysed match as the source.
- The current video render uses one selected player's POV.
- The guided builder is free; the manual Pro editor and video renders require Plus or Pro.
Start with the moment and the player
Find the match and round in the viewer before opening Studio. Note the player whose perspective you want in the finished video. This prevents a technically correct cut from showing the wrong player's action. For a clutch, identify the beginning of the situation as well as the last kill.
A guided recipe such as Highlights can provide a first selection. Use that as a draft, then watch what it includes. A useful clip has a clear idea: one play, a short sequence of related moments or a focused recap. More selected kills do not automatically make a better edit.
Adjust the start and end of each segment
Use the desktop Pro editor, included with Plus and Pro, when you want to arrange and refine the cut. Adjust segment boundaries on the timeline and replay across each cut. Keep enough lead-in to make the position or utility understandable, then remove travel or waiting that does not add context.
Do not end on the exact instant of the last kill without checking the result. A little room after the decisive action can make the outcome readable. Conversely, a long empty tail can drain the energy from a short highlight. Let the actual sequence determine the timing.
Watch the lead-in
Can someone who missed the match understand where the fight is about to happen?
Watch the contact
Does the selected segment contain the full action rather than starting after the important setup?
Watch the exit
Does the outcome finish before the next cut, without unnecessary waiting?
Watch the join
Play across adjacent segments to catch confusing jumps and repeated footage.
Use the 2D preview for selection and timing
The Studio preview shows the match on a radar so you can inspect the selected actions and their timing. It is not a live preview of every pixel in the final first-person video. A good cut on the radar still needs a framing and audio check after rendering.
Before creating the video, confirm the source match, selected POV player and segment order. If a sequence depends on seeing several different players' perspectives, remember that the current render selects one POV player for the video. Do not assume a segment will automatically switch to another player.
Choose the output, then watch the finished file
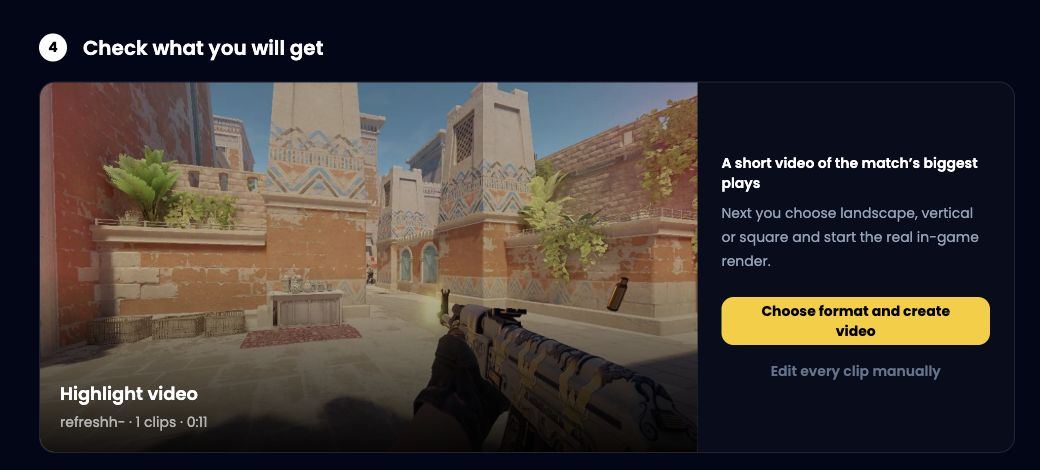
Choose landscape, vertical or square for where you will use the clip. Select the available quality and frame rate in the export dialog, then submit the render once the cut is ready. Check the result in Your Content when processing completes.
Watch the whole file with sound. Check the first frame, every cut and the last action. For a vertical clip, also check the opponent and crosshair on a phone-sized display. Download the version you want to keep before any retention limit on your plan applies.
Common questions
Can I edit a clip without recording the match live?
Yes. An available analysed CS2 demo can supply the replay data for a cut and a subsequent POV video render.
Does the 2D preview show the finished gameplay video?
No. It helps verify the cut's actions and timing. The first-person video is generated after you submit the render.
Put the guide to work
A checked cut ready for a POV render. Open the tool when you are ready, or follow a related guide below.