
CS2 clip editing and video rendering guides
Keep the play, cut the downtime. Follow your match from replay data to a finished first-person video.
Open Studio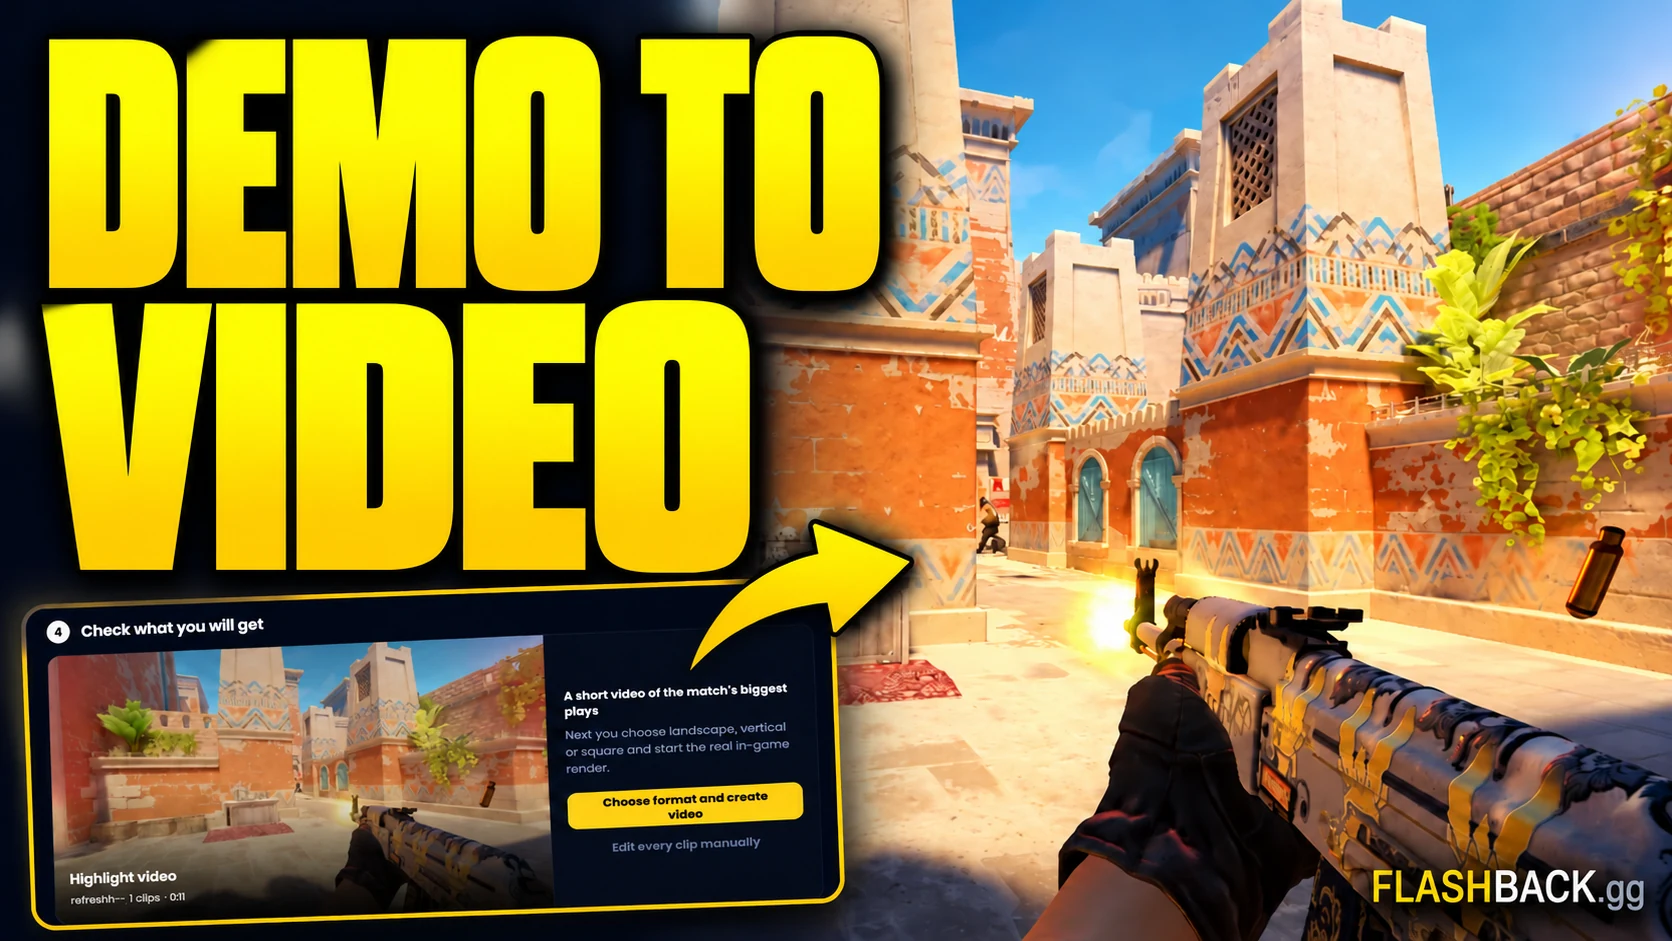
A CS2 .dem file contains replay data rather than a ready-made video. In Flashback, Studio uses an analysed, tracked Steam or FACEIT match to build a cut and render a player's POV. Standalone demo uploads are not currently a render source. The 2D preview helps you check the selected actions and timing. The final rendered file is where you check gameplay framing, audio and the result of a vertical crop.
Begin with the demo-to-video guide for the complete workflow. If your recorder missed the play, first confirm that the match demo still exists. Use the editing guide when you need to refine a cut; the manual desktop Pro editor requires Plus or Pro. Choose the export guide for aspect ratio, resolution and frame rate, then the Shorts guide for a phone-oriented edit. Download the finished file from Your Content before posting it to your chosen platform.
A practical starting path
- Render a CS2 POV video
Go from a match demo to a shareable first-person clip, with a clear check before you spend a video export.
- Trim and edit CS2 clips
Choose the player, tighten your segments and check the cut before rendering.
- Choose the right video export
Understand 16:9, 9:16, resolution and frame rate before you create the video.
All clips & video guides
5 step-by-step guides
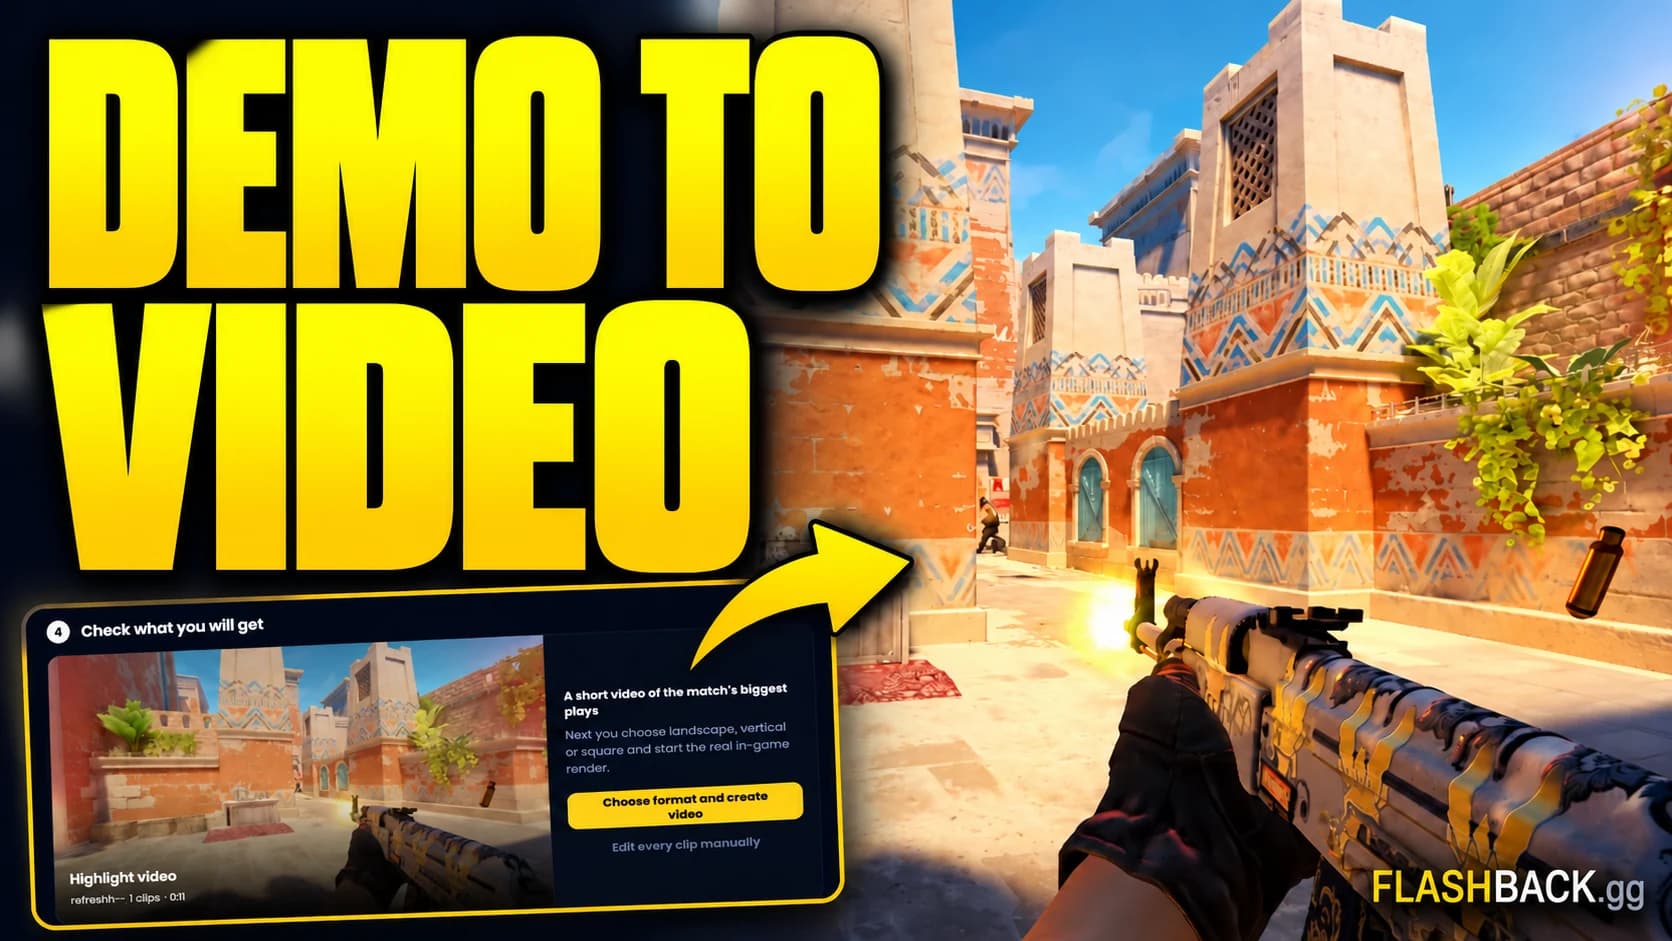
Render a CS2 POV video
Go from a match demo to a shareable first-person clip, with a clear check before you spend a video export.
Read guide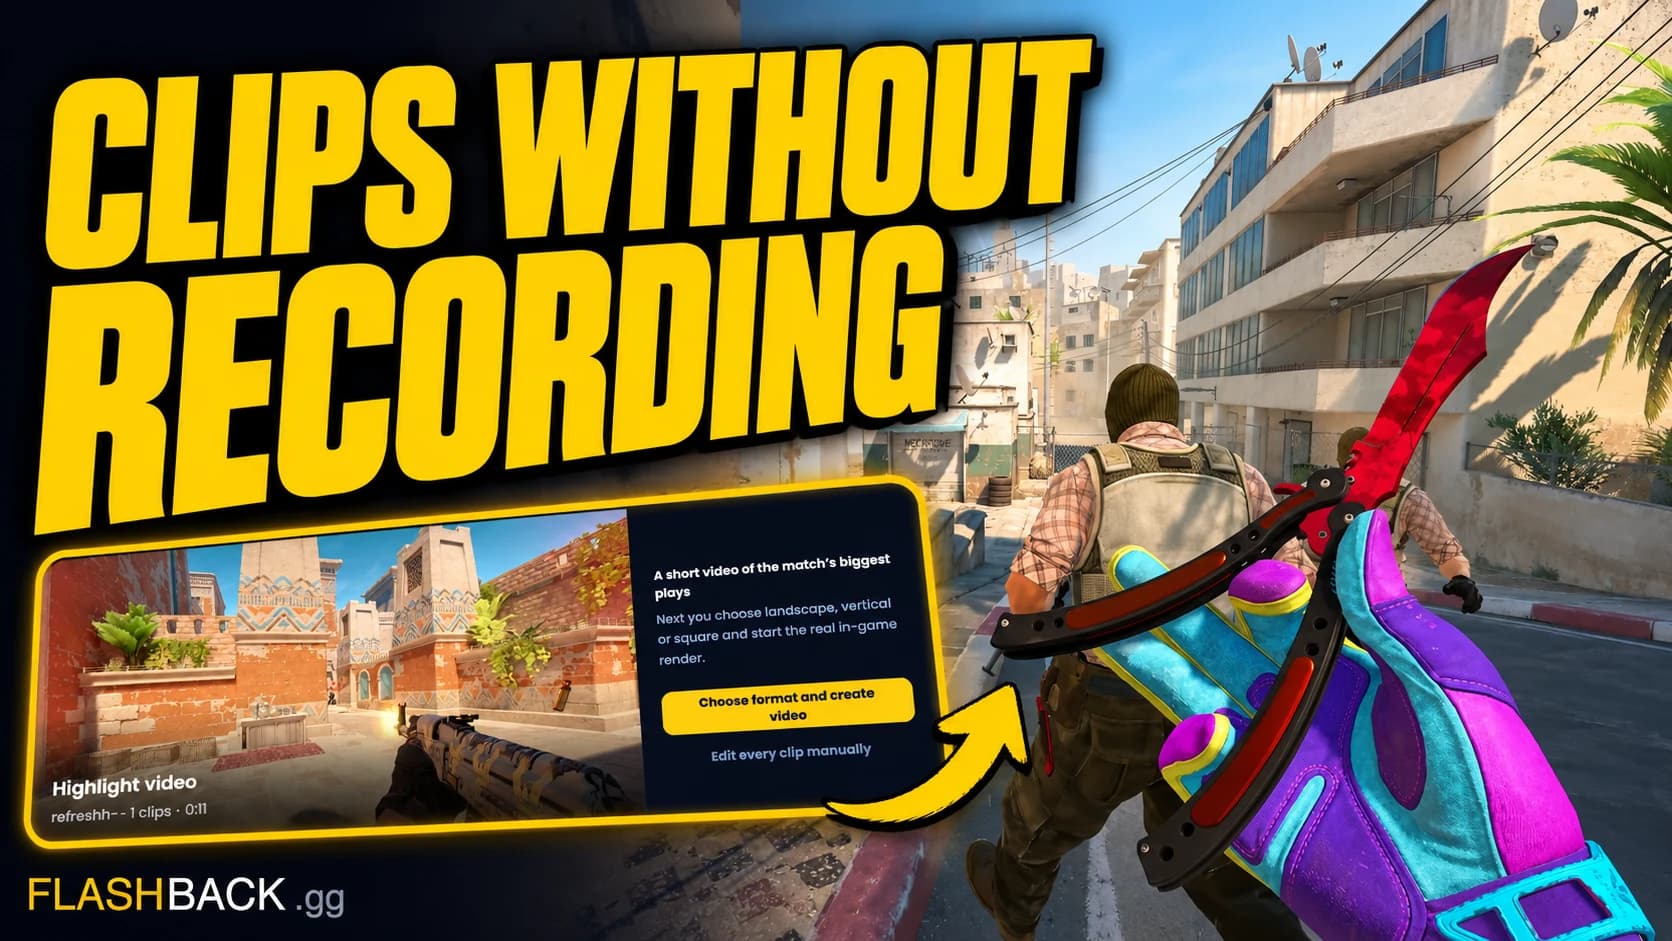
Recover a clip you missed
Your recorder missed the play. Check the match demo, recover the round and turn it into a video while the source is still available.
Read guide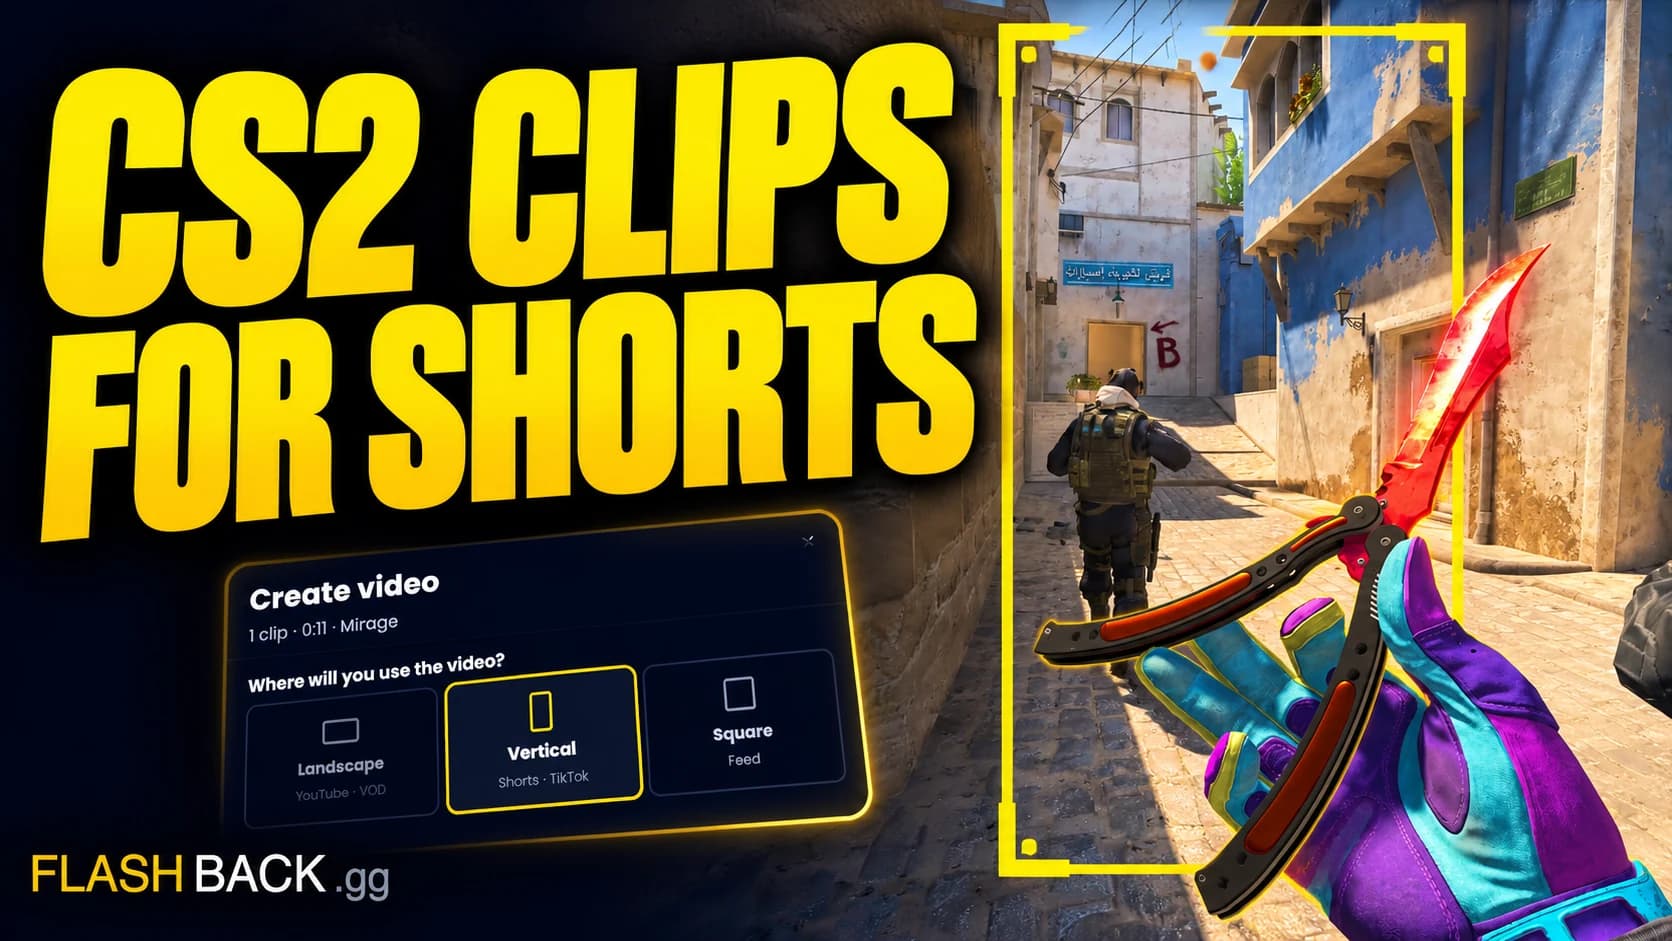
Make clips for TikTok & Shorts
Build a short around one readable play, choose a vertical export and check the result before posting.
Read guide
Trim and edit CS2 clips
Choose the player, tighten your segments and check the cut before rendering.
Read guide
Choose the right video export
Understand 16:9, 9:16, resolution and frame rate before you create the video.
Read guide